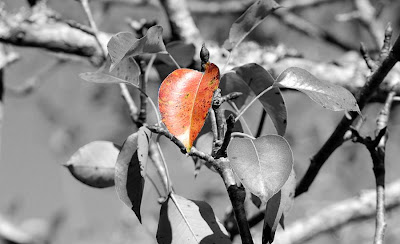
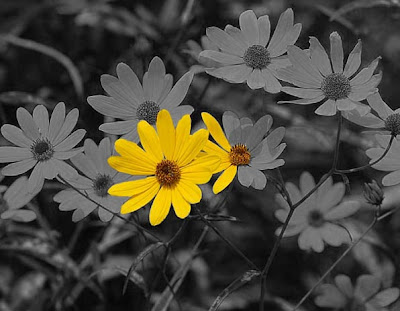
 As you can see - I finally got it figured out and I'm gonna share it with all you Photo Elements folks!
Basically, you take your original photo and create a layer on top of it. The top layer is the one you are changing to Black and White. Then it's just a matter of using the Eraser tool to erase the B&W layer, revealing the original color photo underneath. Simple, really!
First, select your photo.... in the Editor bar, select LAYERS. In Layers, select DUPLICATE LAYER and just let it name it the default...the name doesn't matter. You now have two layers...one on top of the other.
From the Editor bar, select ENHANCE, select ADJUST COLOR, then REMOVE COLOR. ( You have now taken the color out of the second layer, which is laying on top of your original.)
From the TOOL bar, select your background eraser first... take out the first bit with it and then you can use the regular eraser after that. I find the regular eraser gives me more control.
That's it! Other than being tedious to work the small areas, there's nothing to it. Save your photo as a jpg or you'll need to "flatten the layer" and you are ready to publish.
Have fun!

0 comments:
Post a Comment